OmniForm empowers you to design and customize forms that suit your needs. This tutorial aims to provide a step-by-step walkthrough, enabling you to create your first form with ease. Let’s dive in and start building your form from scratch with OmniForm.
Create a New Form
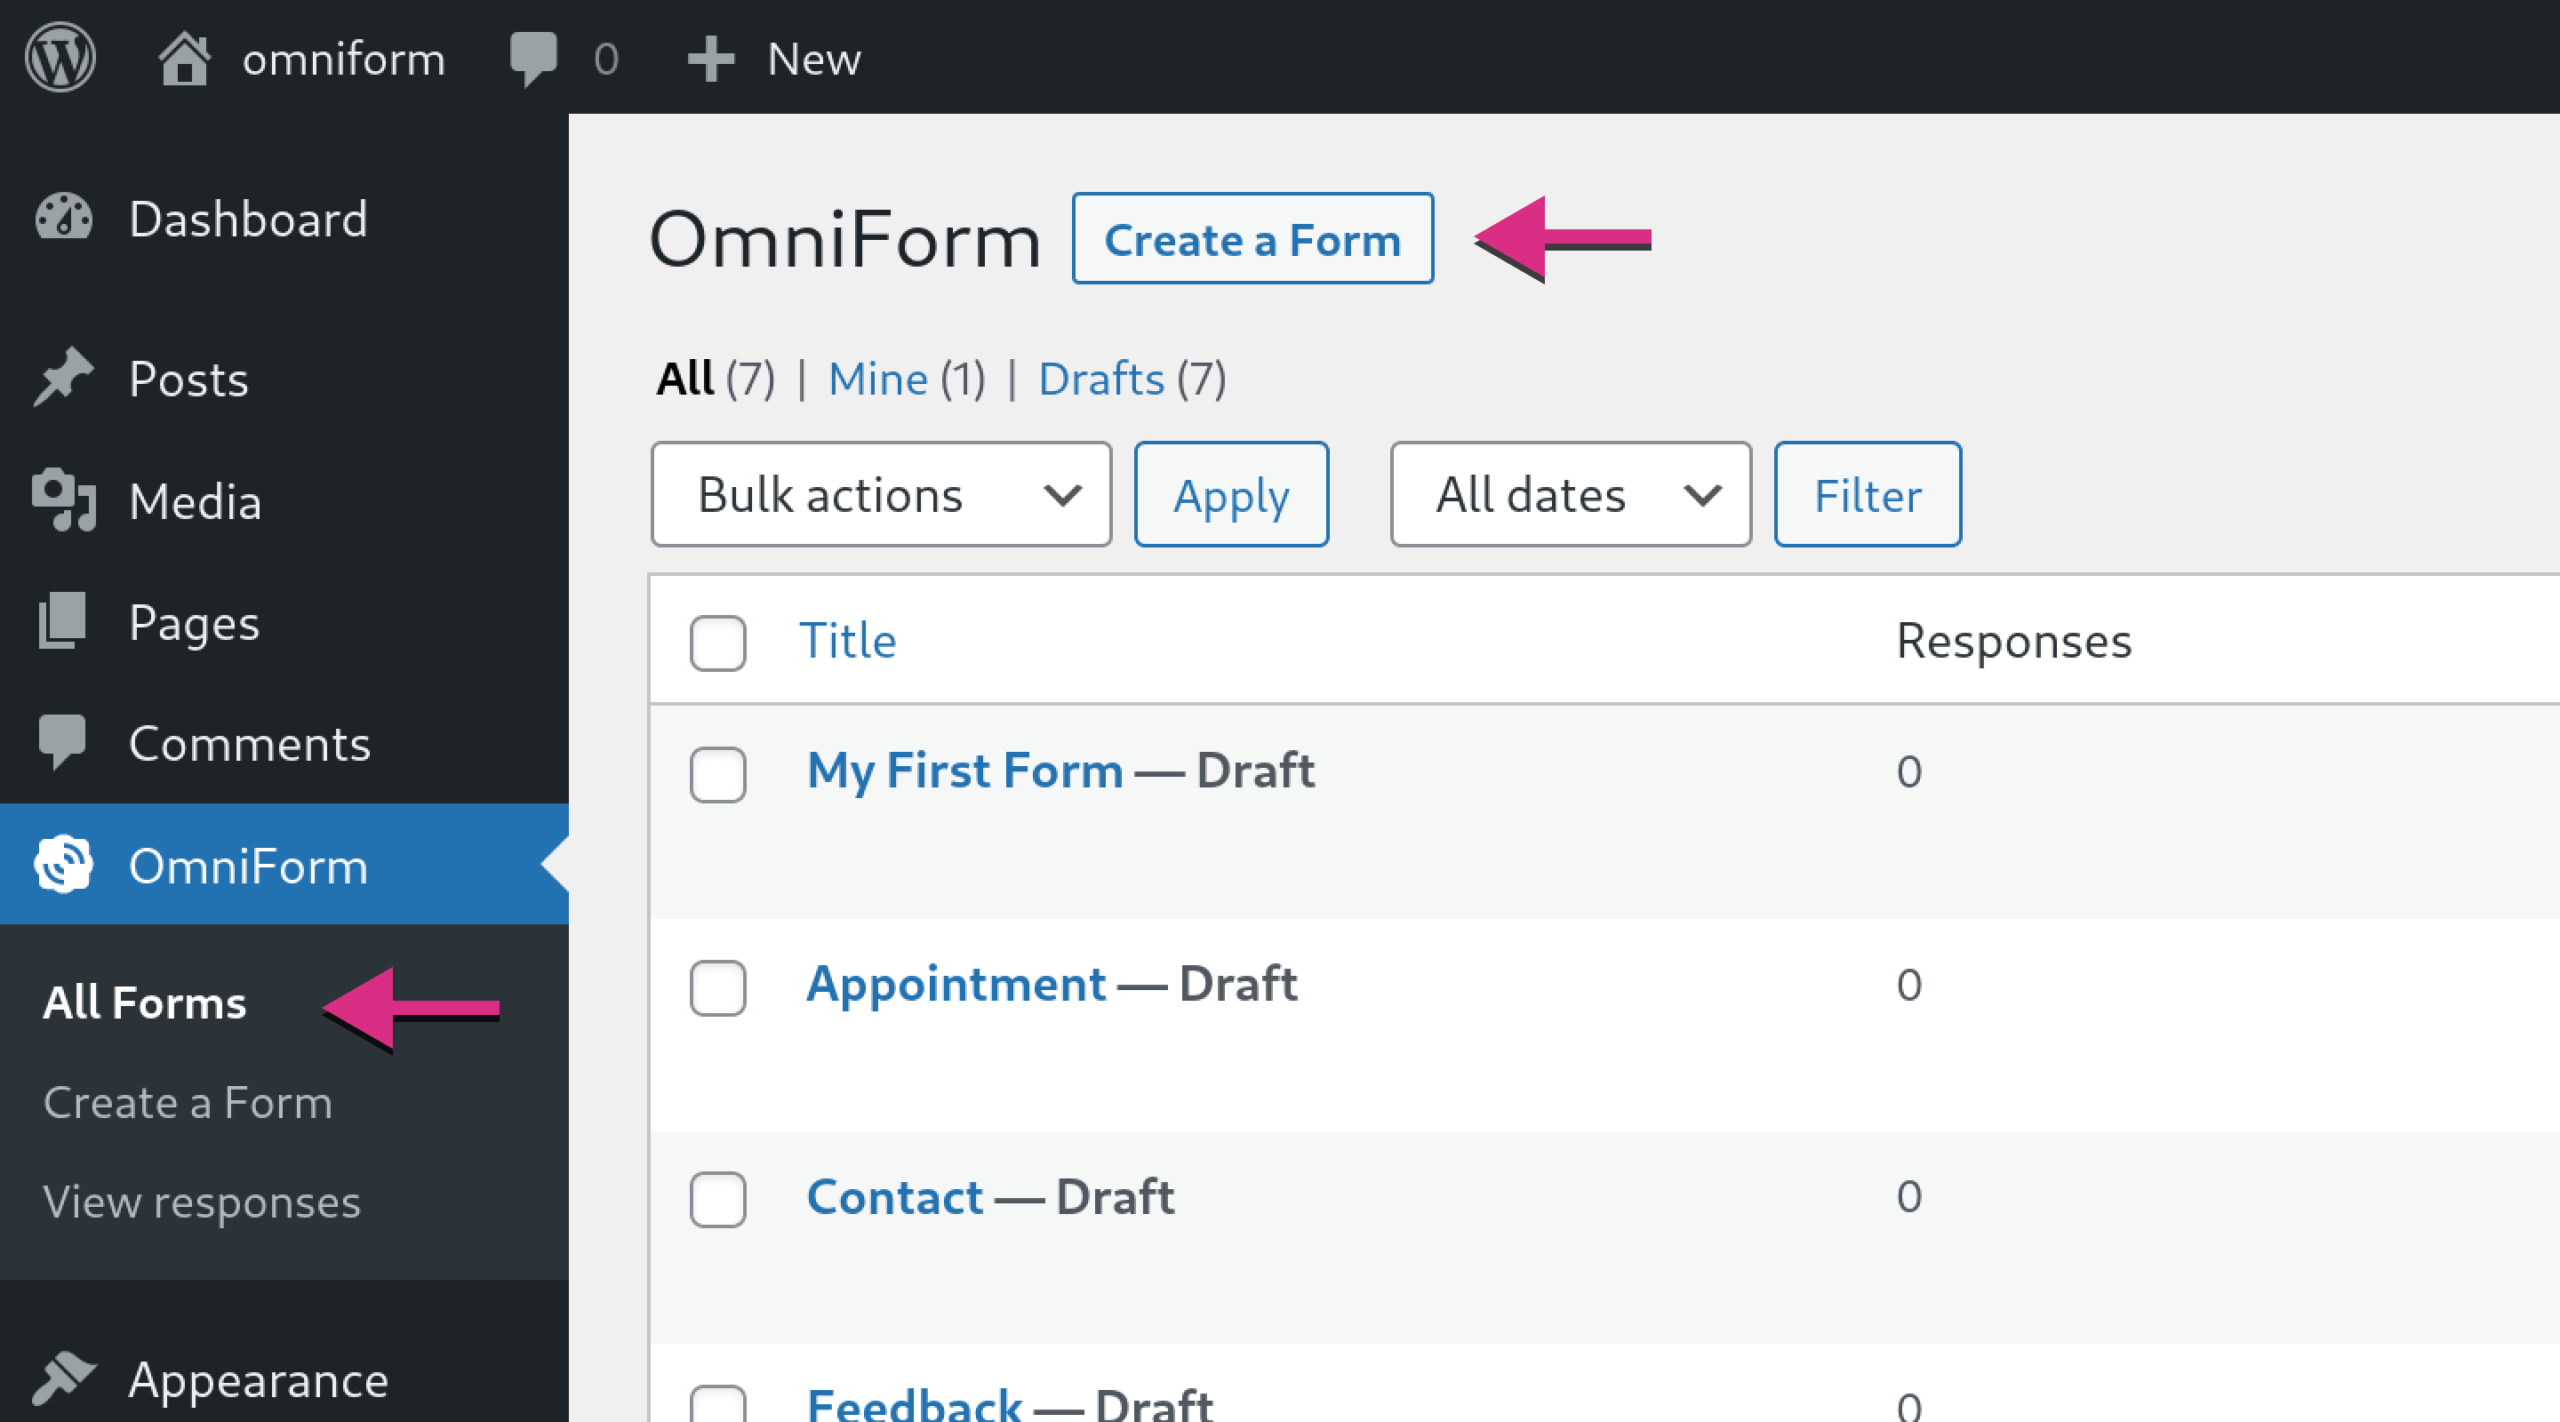
After installing and activating the OmniForm plugin, click on “OmniForm” to access the OmniForm plugin page. Click the “Create a Form” button to start creating your form from scratch.
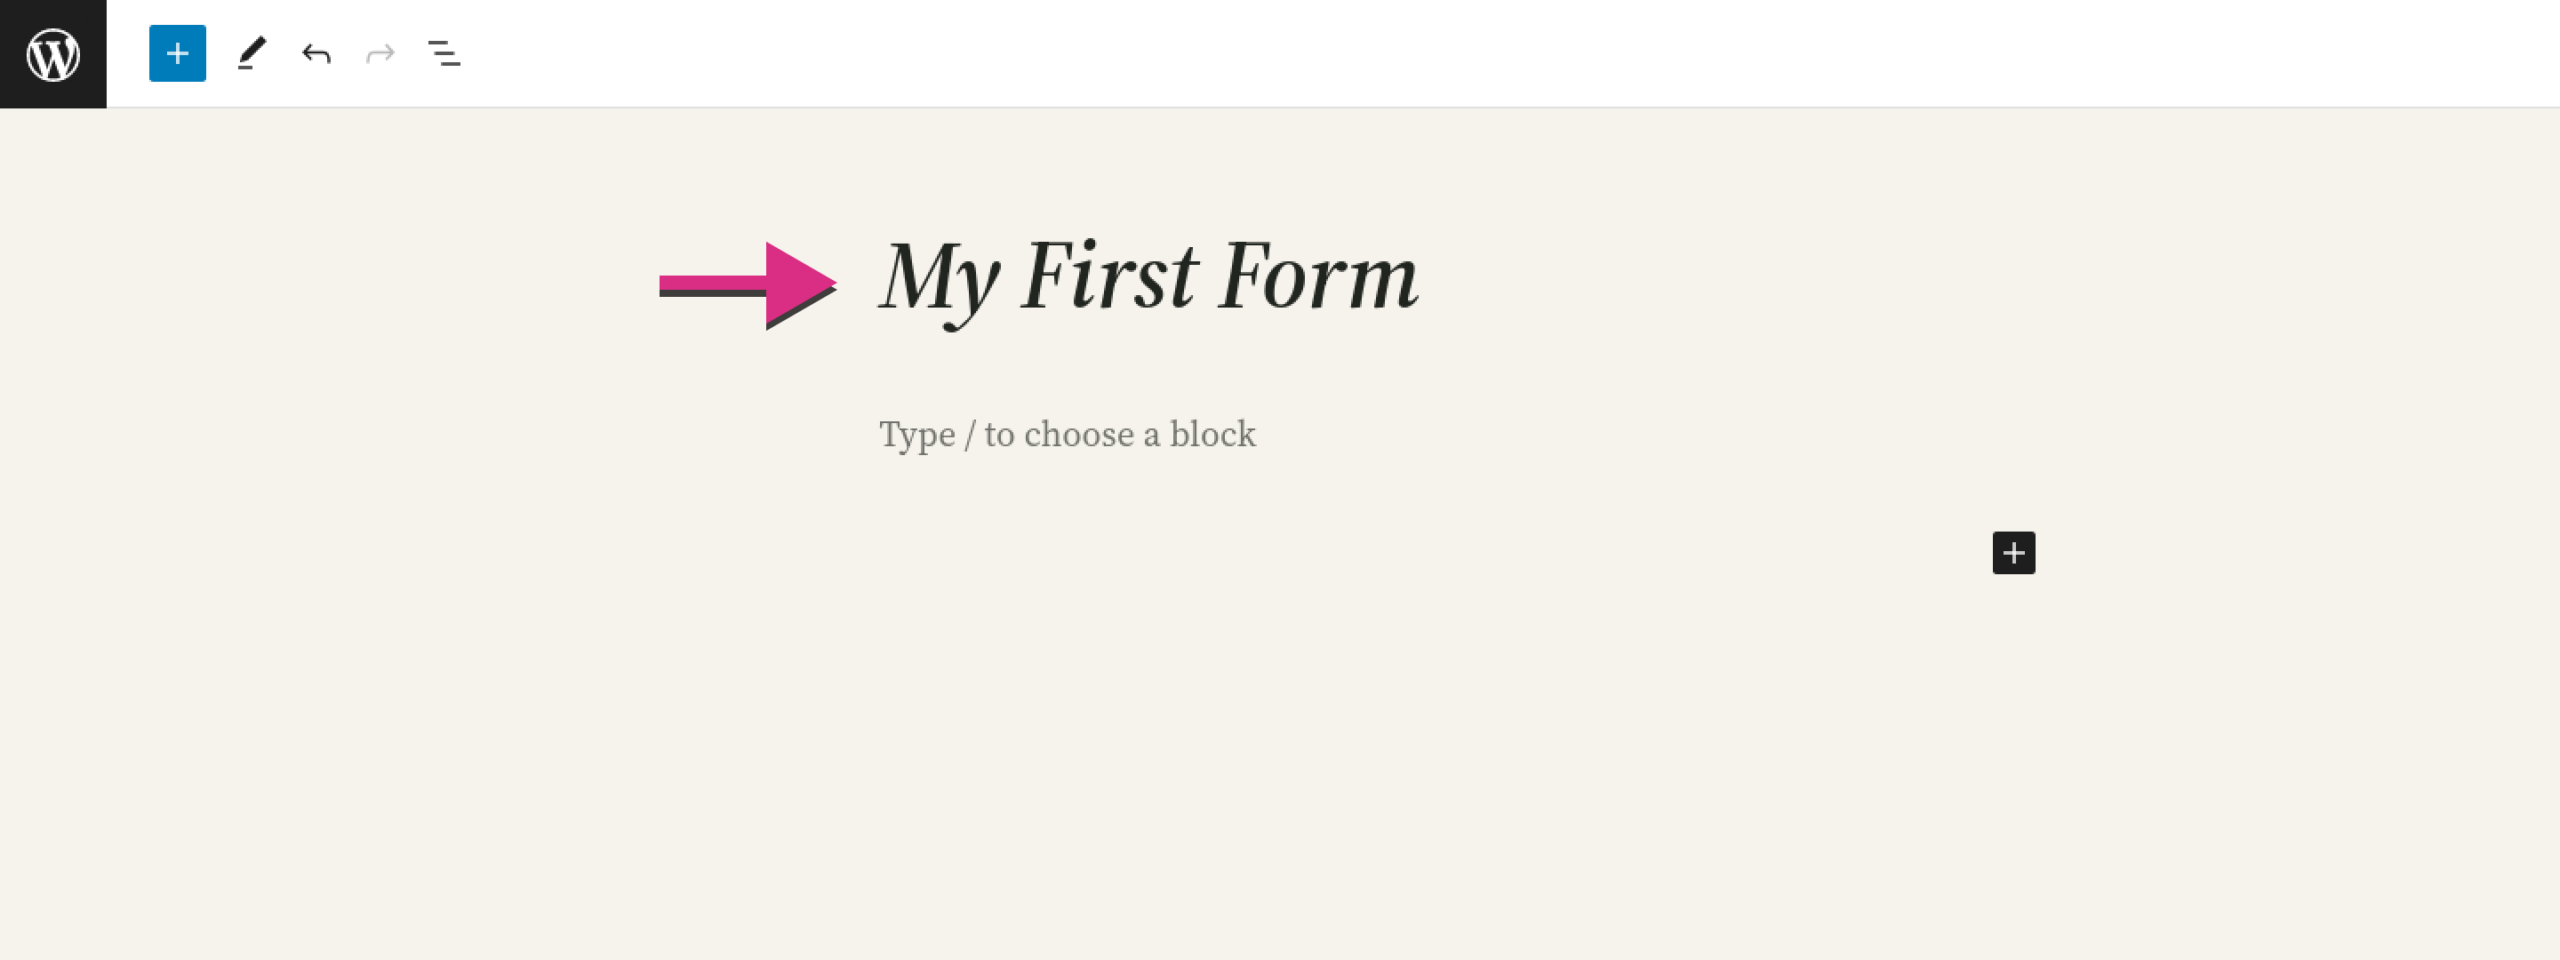
Enter a descriptive name for your form in the provided field. This name will help you identify and manage your form later.
Adding Fields
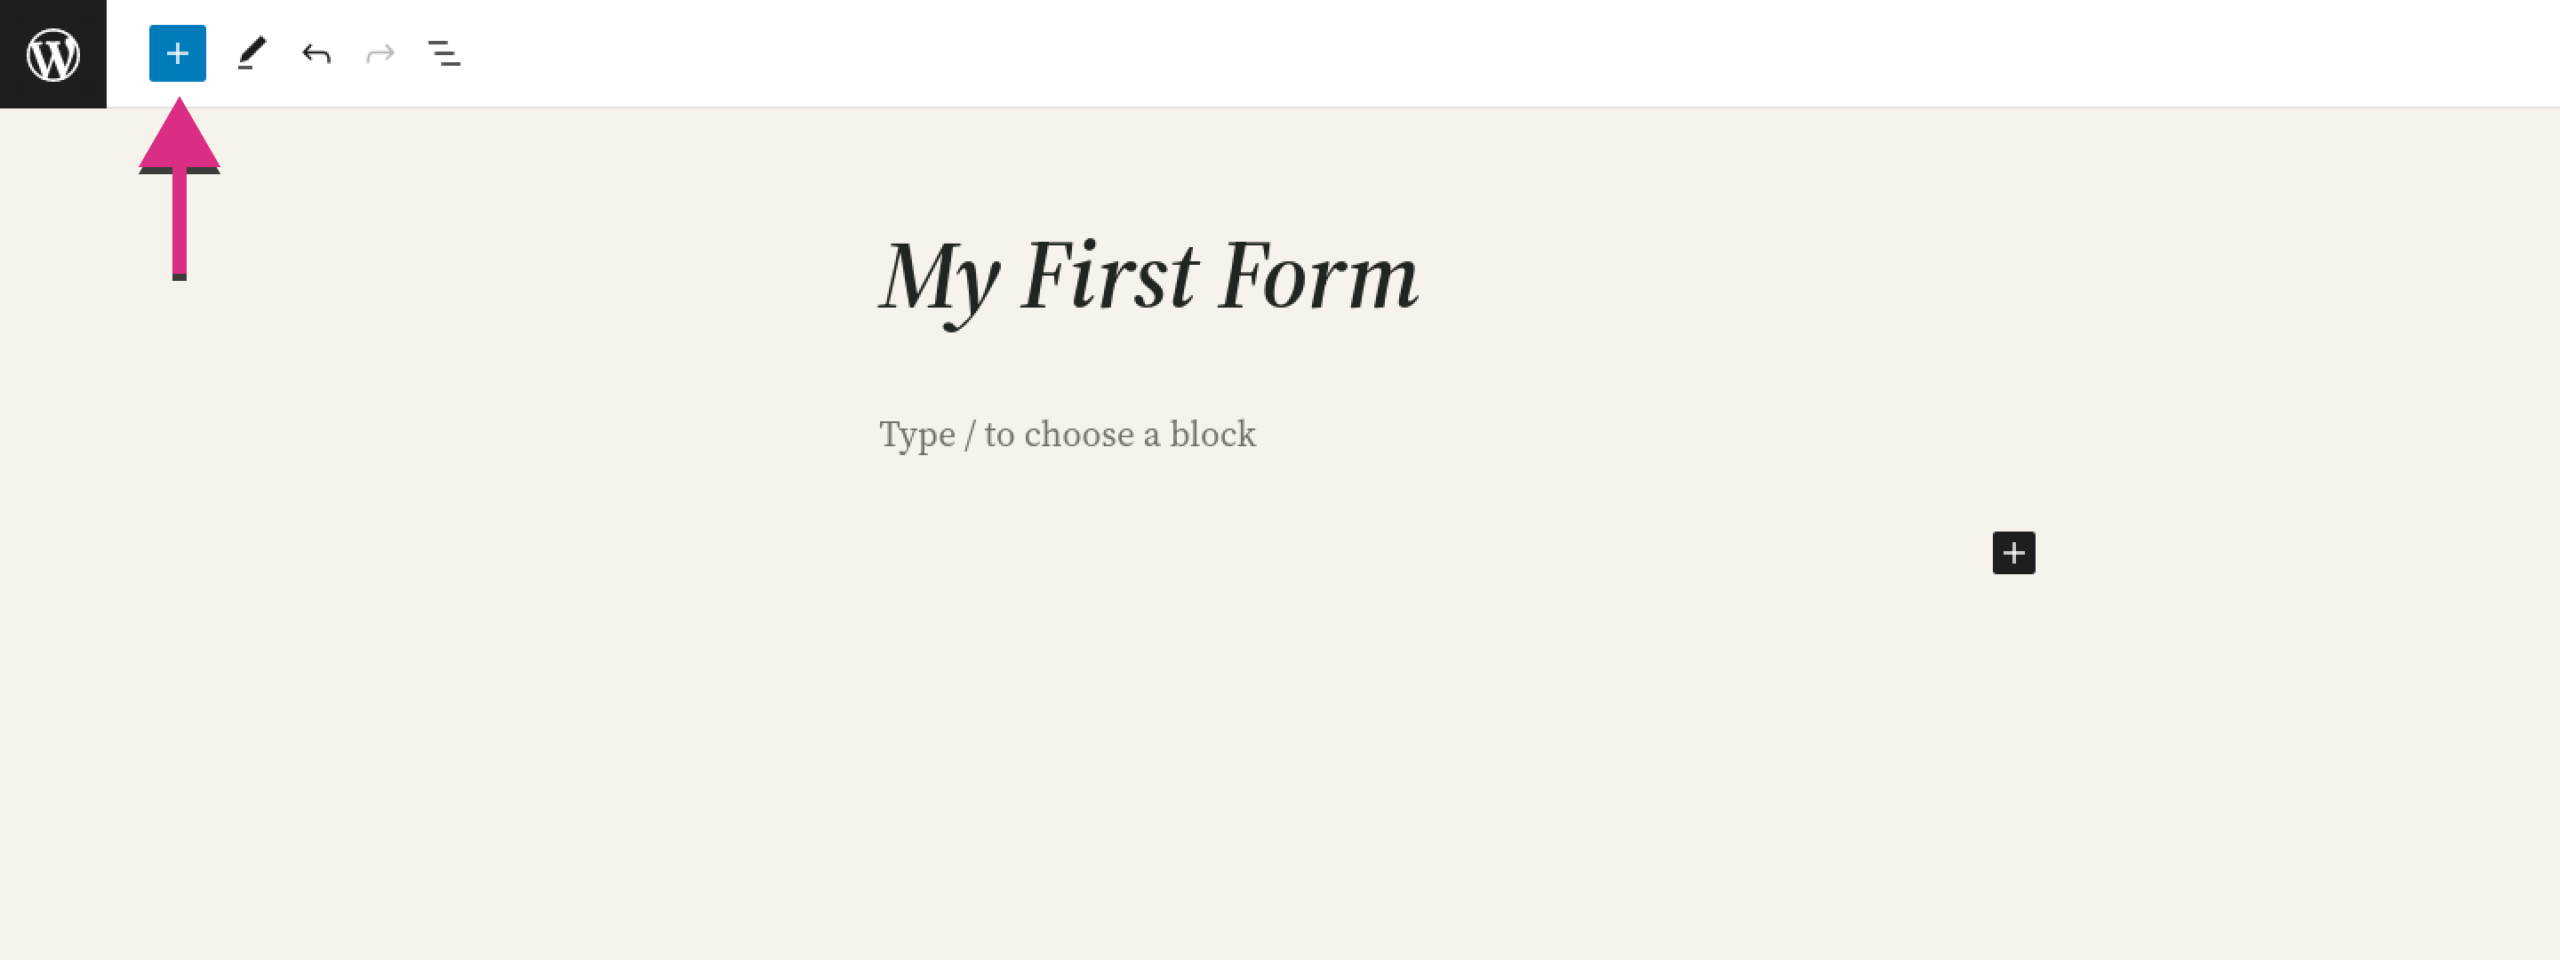
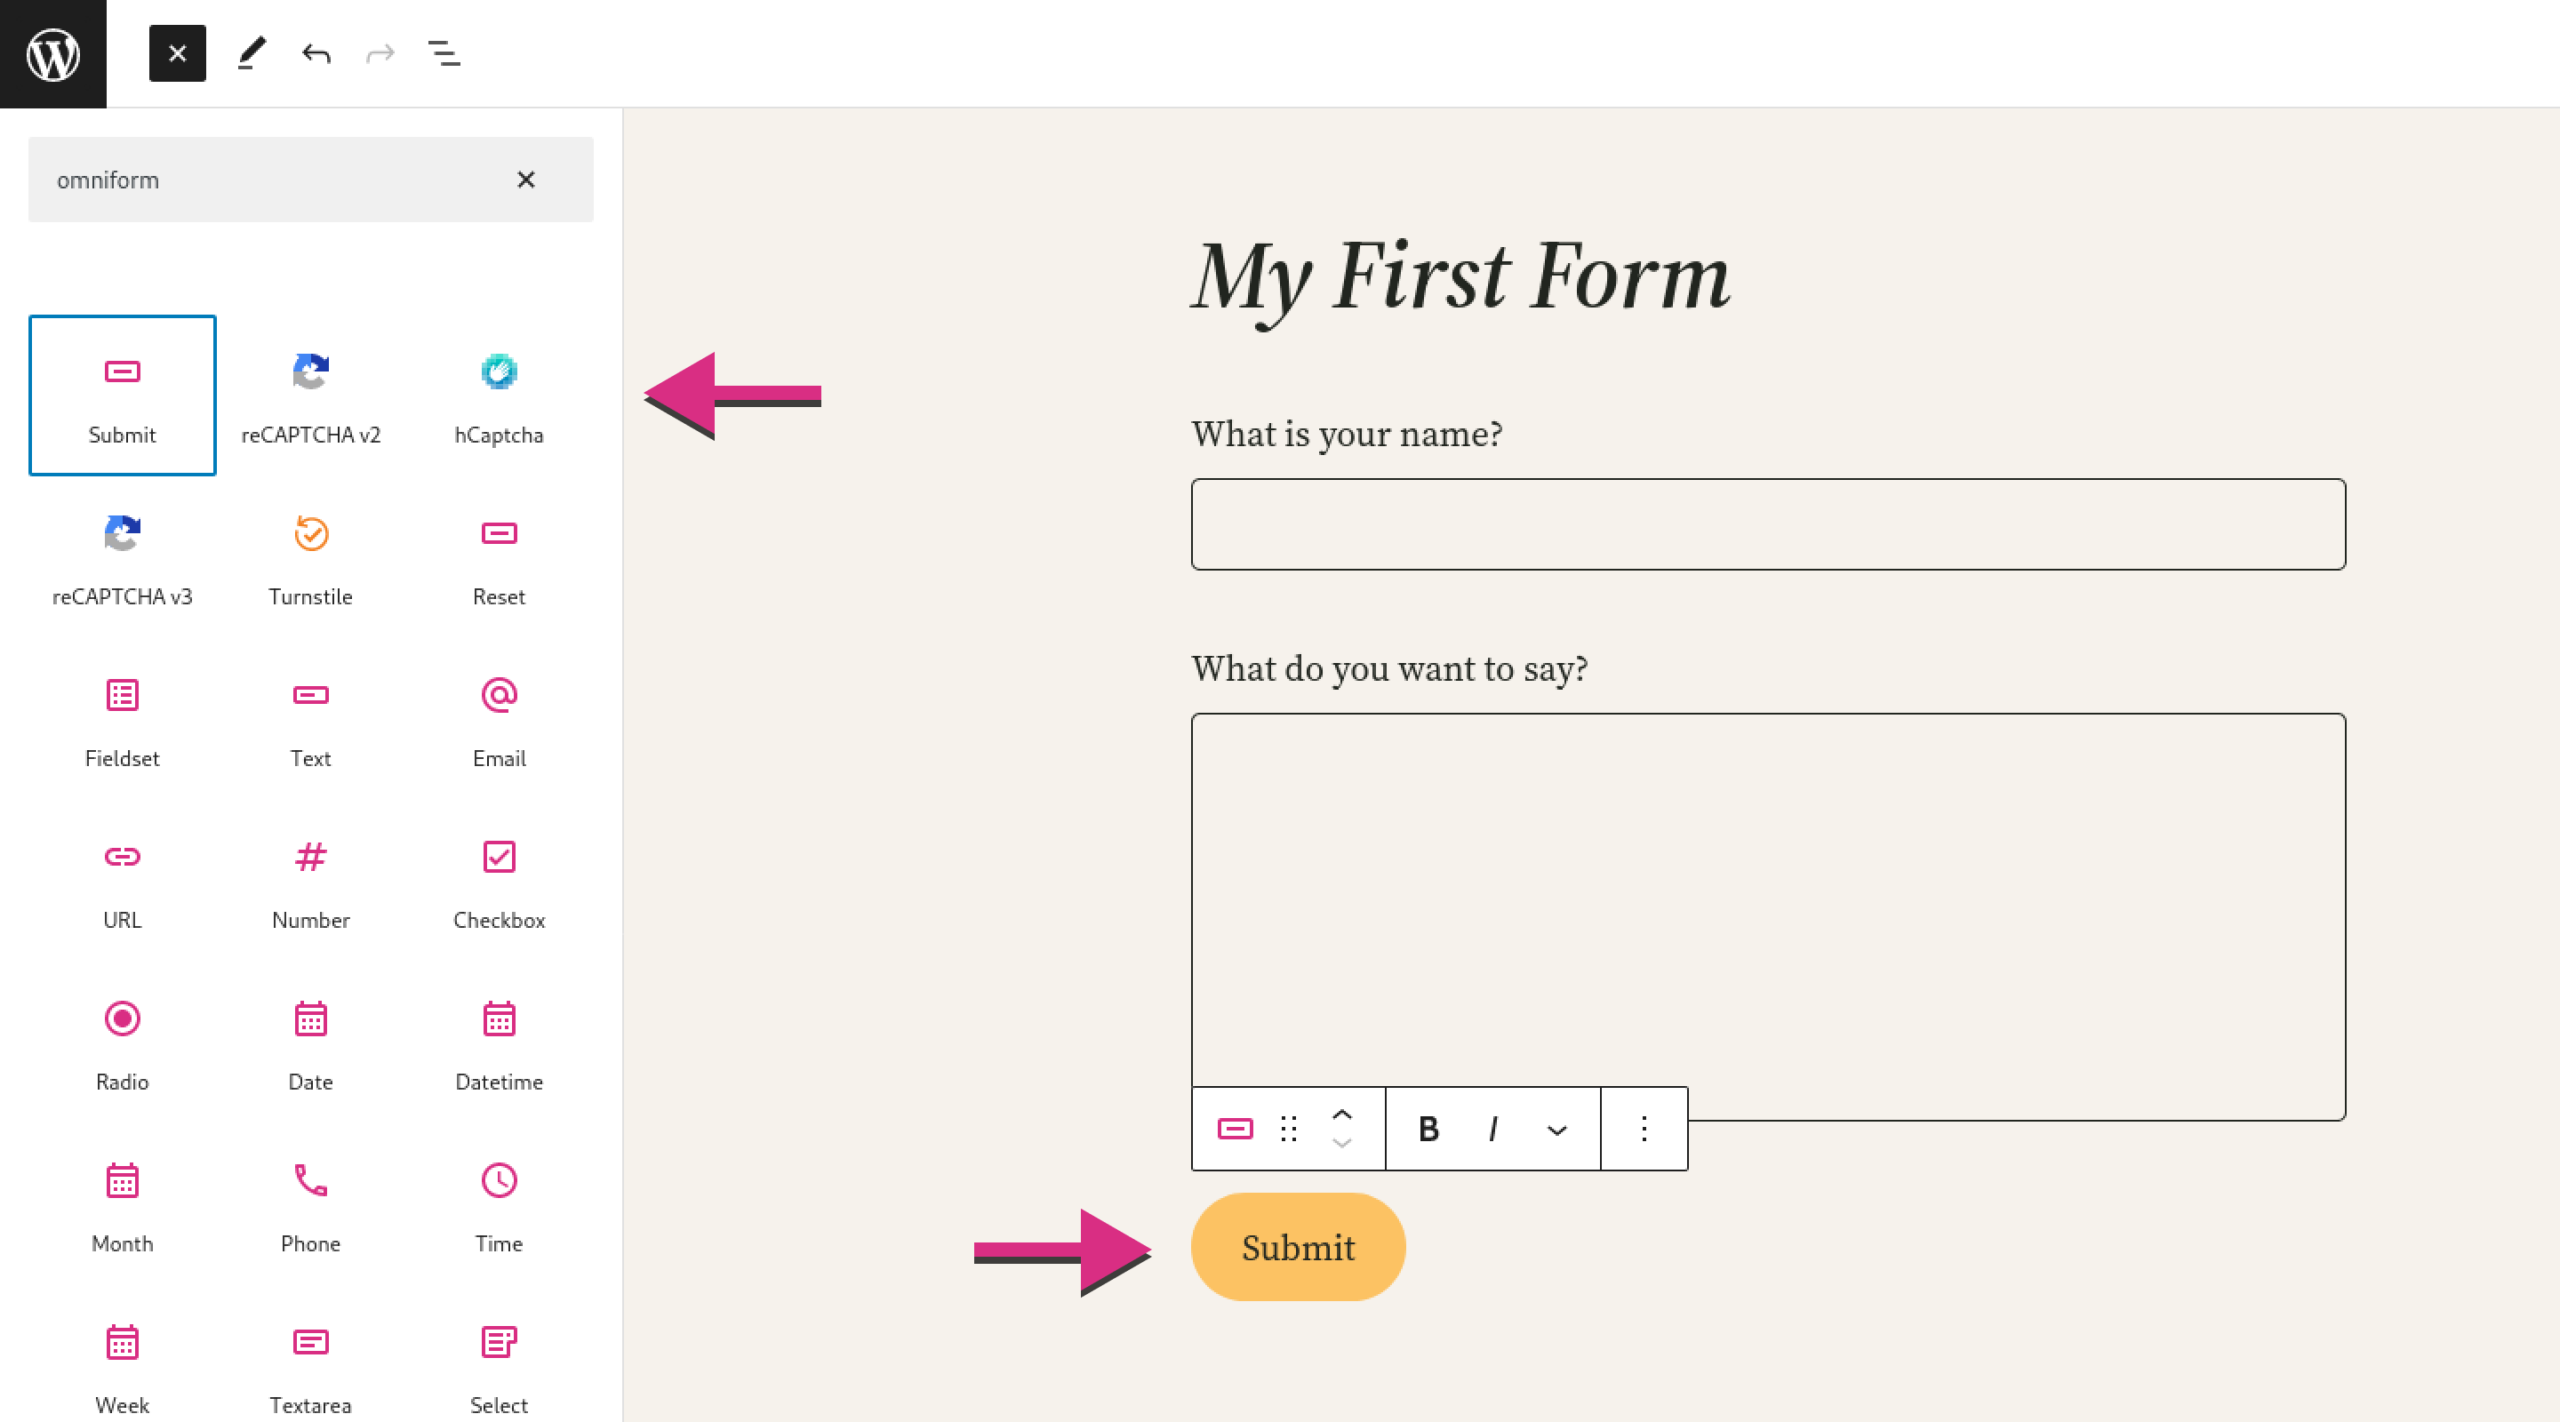
Click on the blue “+” icon button within the top bar. This will open up the block inserter.
In the block search bar, type “OmniForm” or scroll down to locate the OmniForm blocks category.
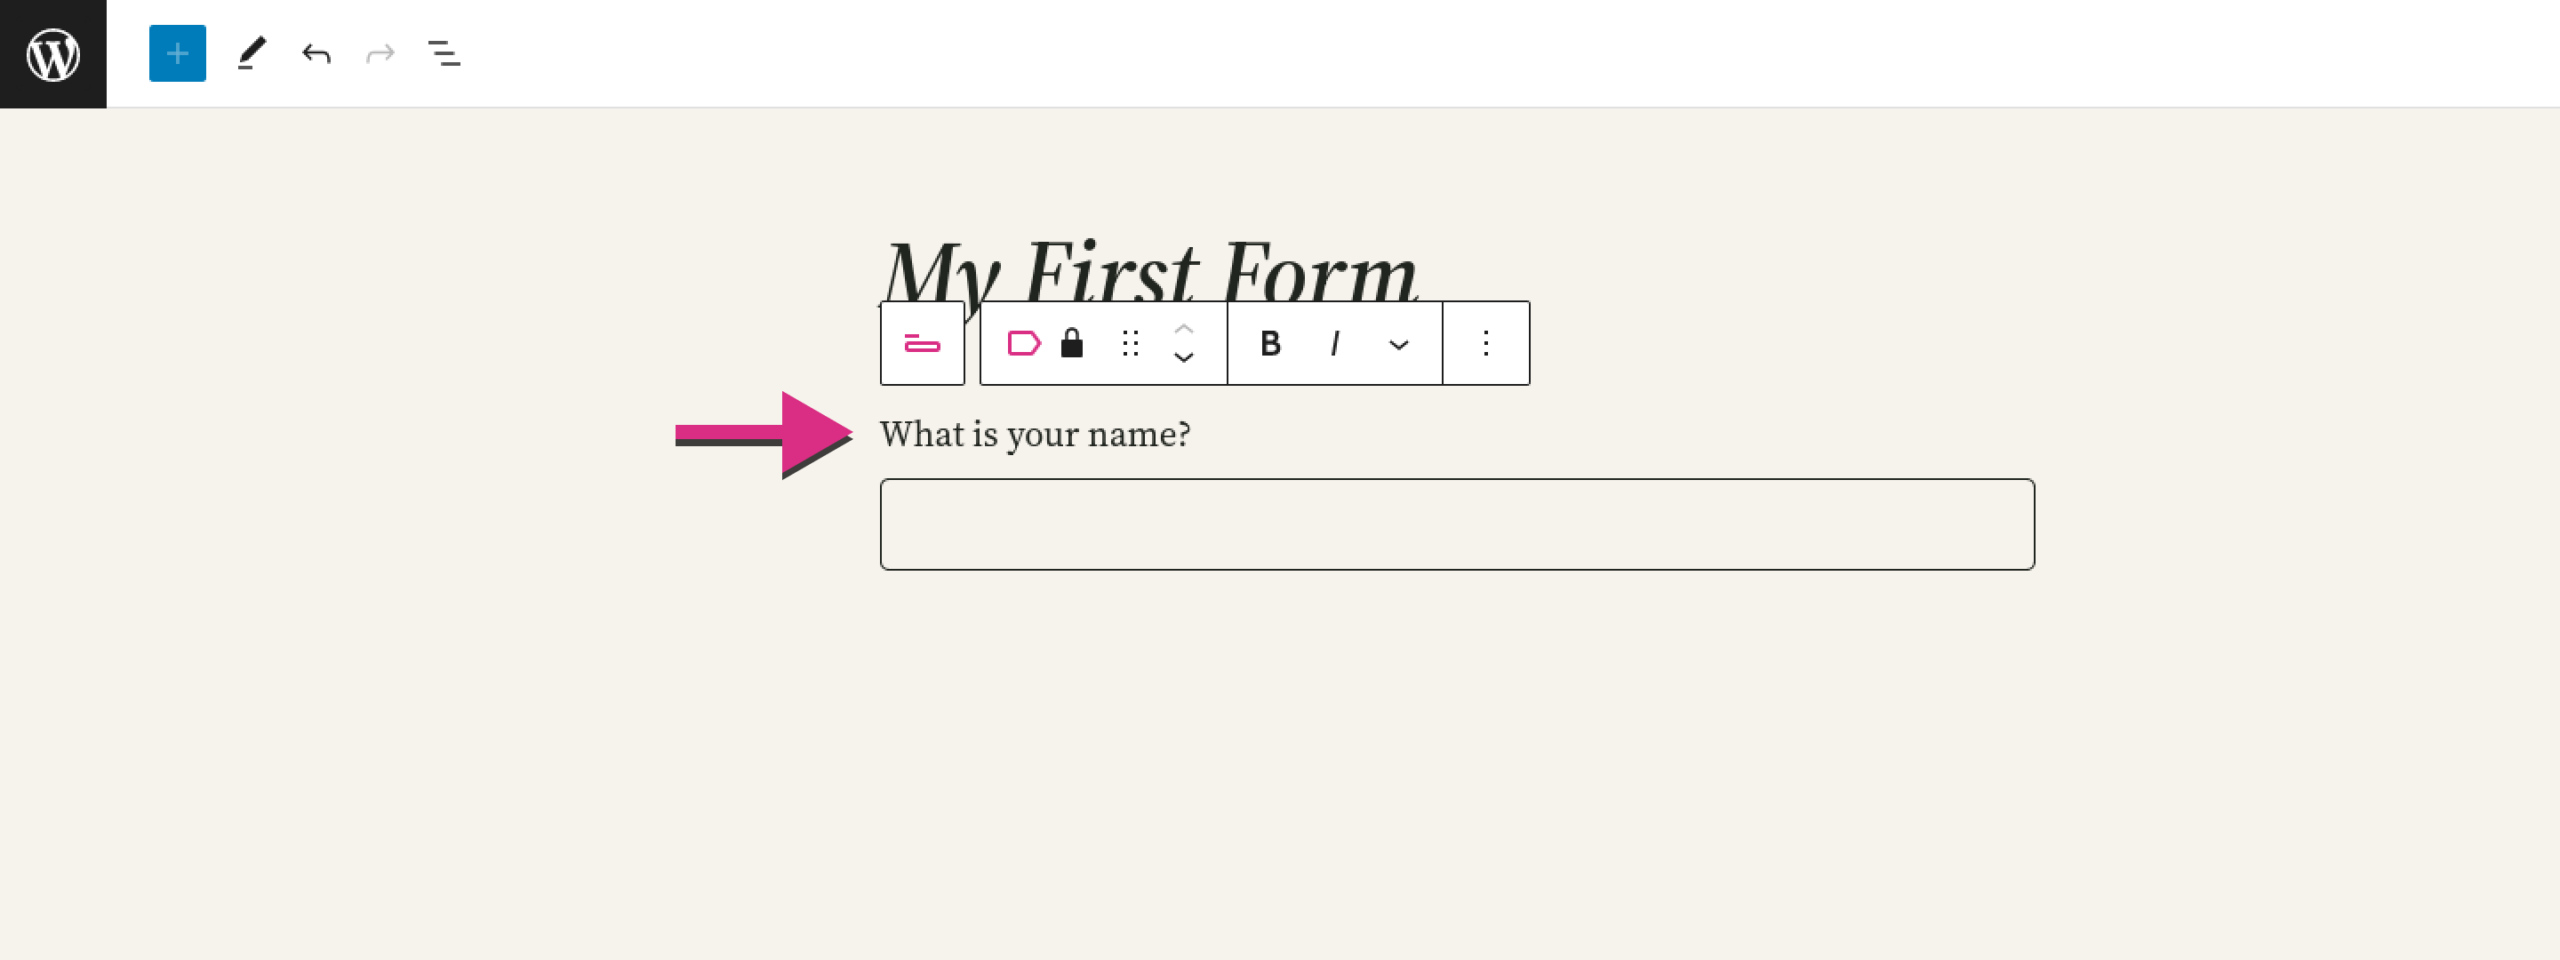
Select the desired field block from the available options, such as Text Field, Checkbox, Radio Buttons, Dropdown, or any other field type you need for your form.
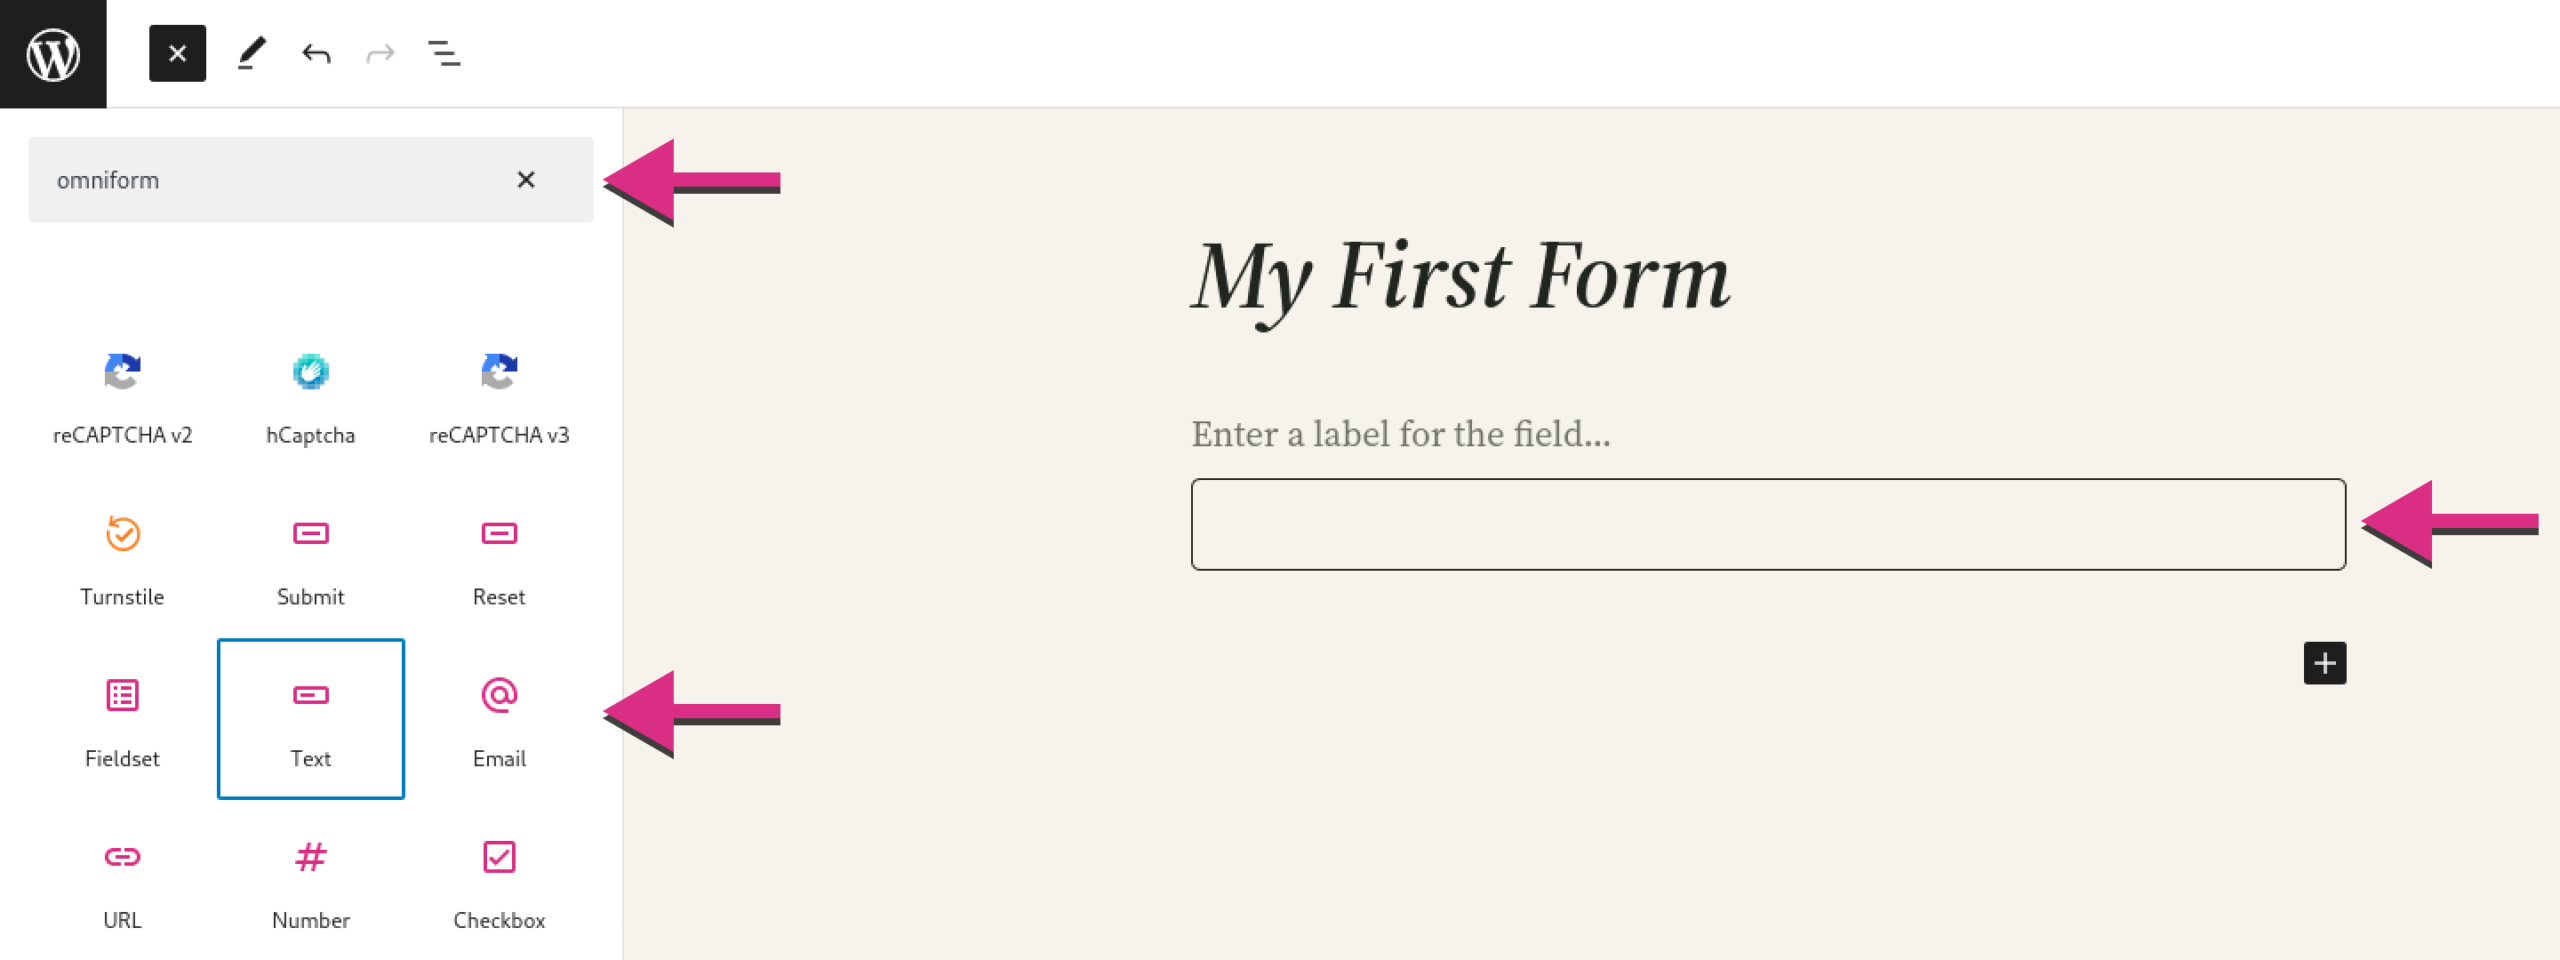
Give the field an appropriate label. This is what your website visitors will see when they fill out your form and what you will see when managing form responses.
To add more fields to your form, repeat the process. Add as many field blocks as required to create the desired form structure. You can easily rearrange the order of your field blocks by dragging and dropping them within the Block Editor.
Make sure you add a Submit button block to your form so that your visitors can submit the form!
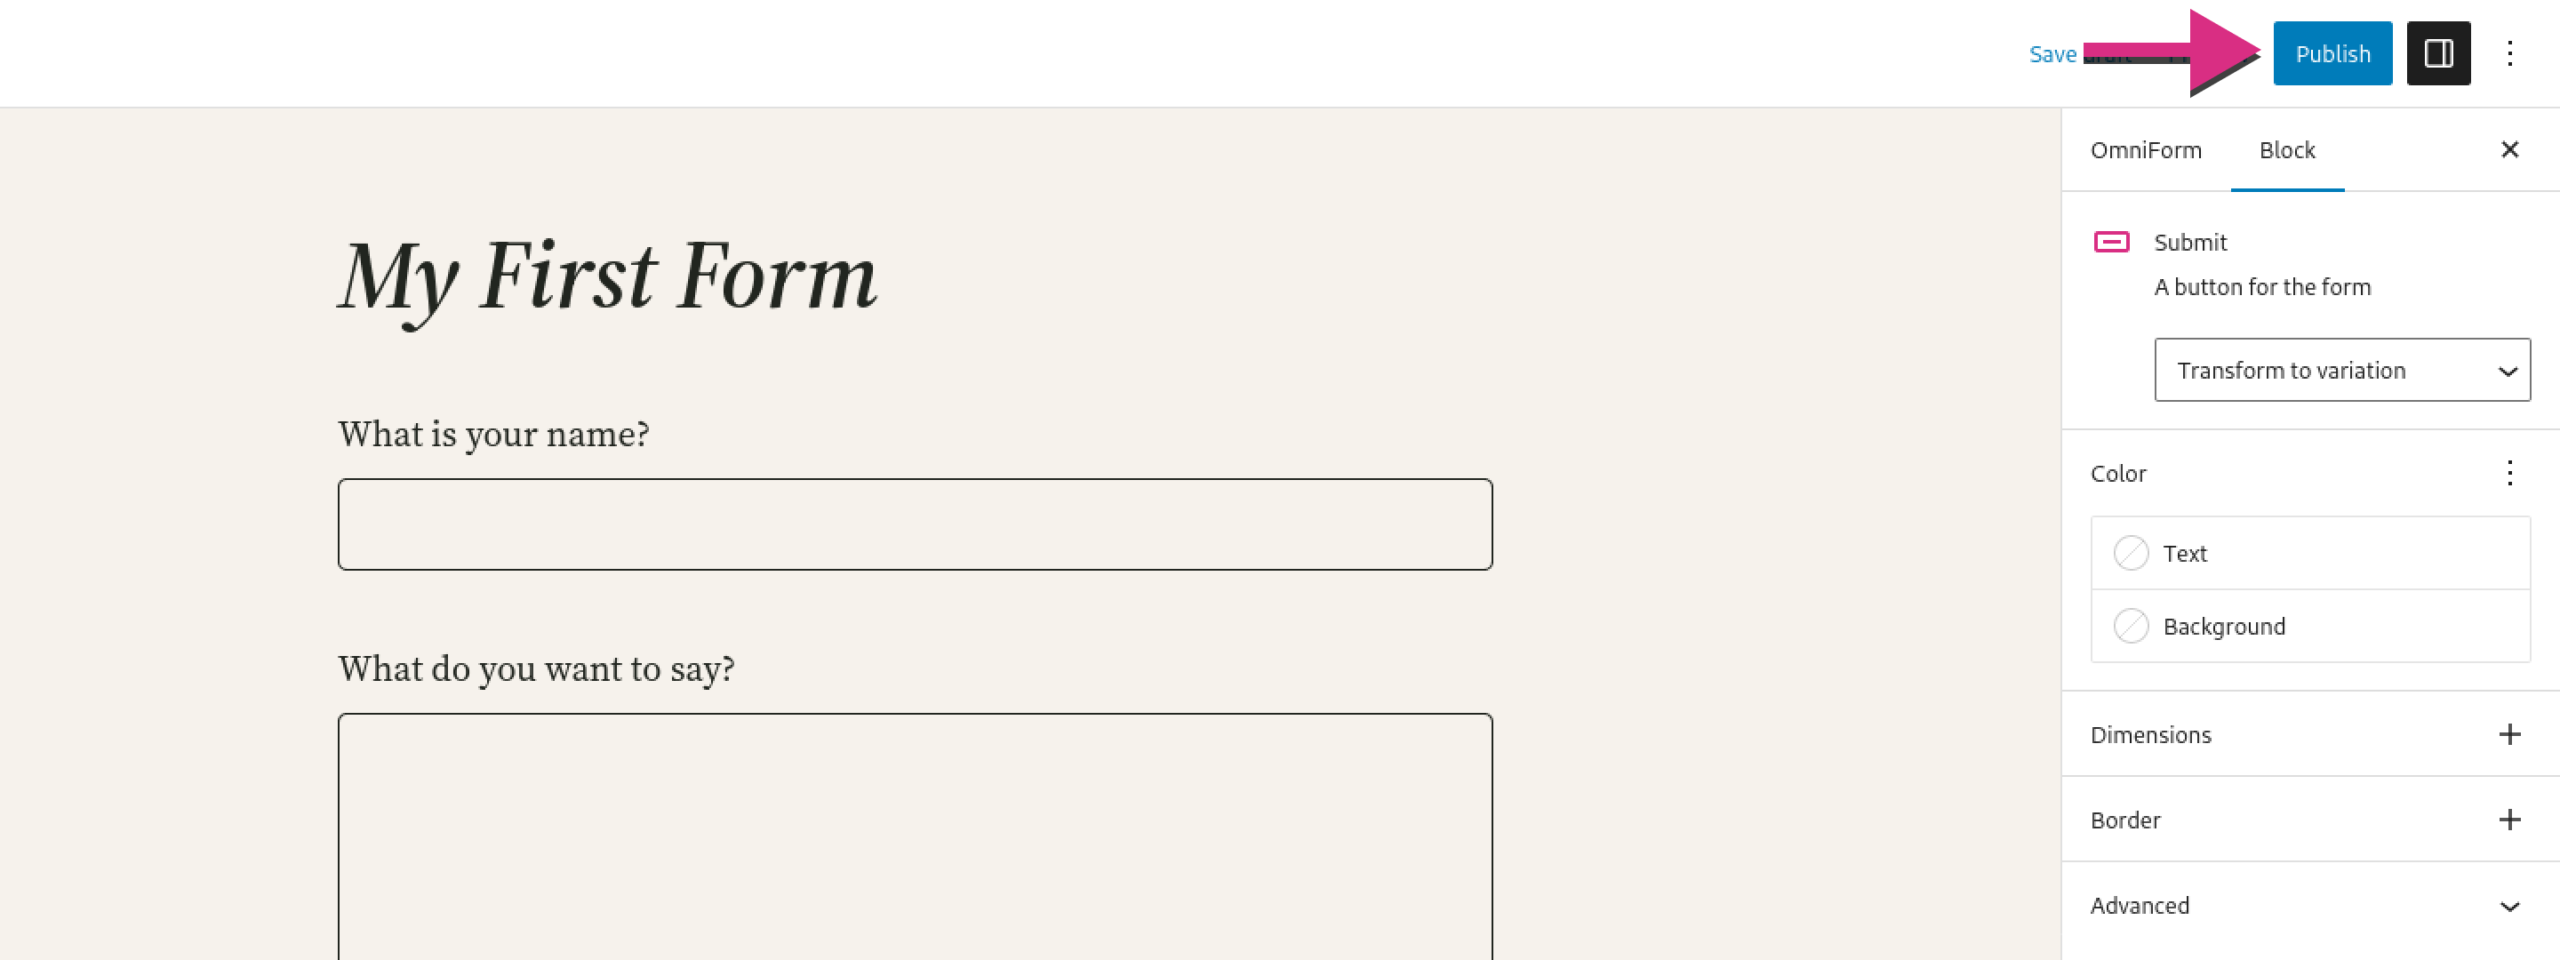
Once you’ve finished customizing your form, click the “Publish” button to start receiving responses!
Prevent Spam Submissions
Implementing measures to prevent spam submissions is crucial for a positive user experience, data integrity, and website security. To achieve this, integrating powerful bot protection measures such as reCAPTCHA, hCaptcha, or Cloudflare Turnstile with OmniForm is recommended.
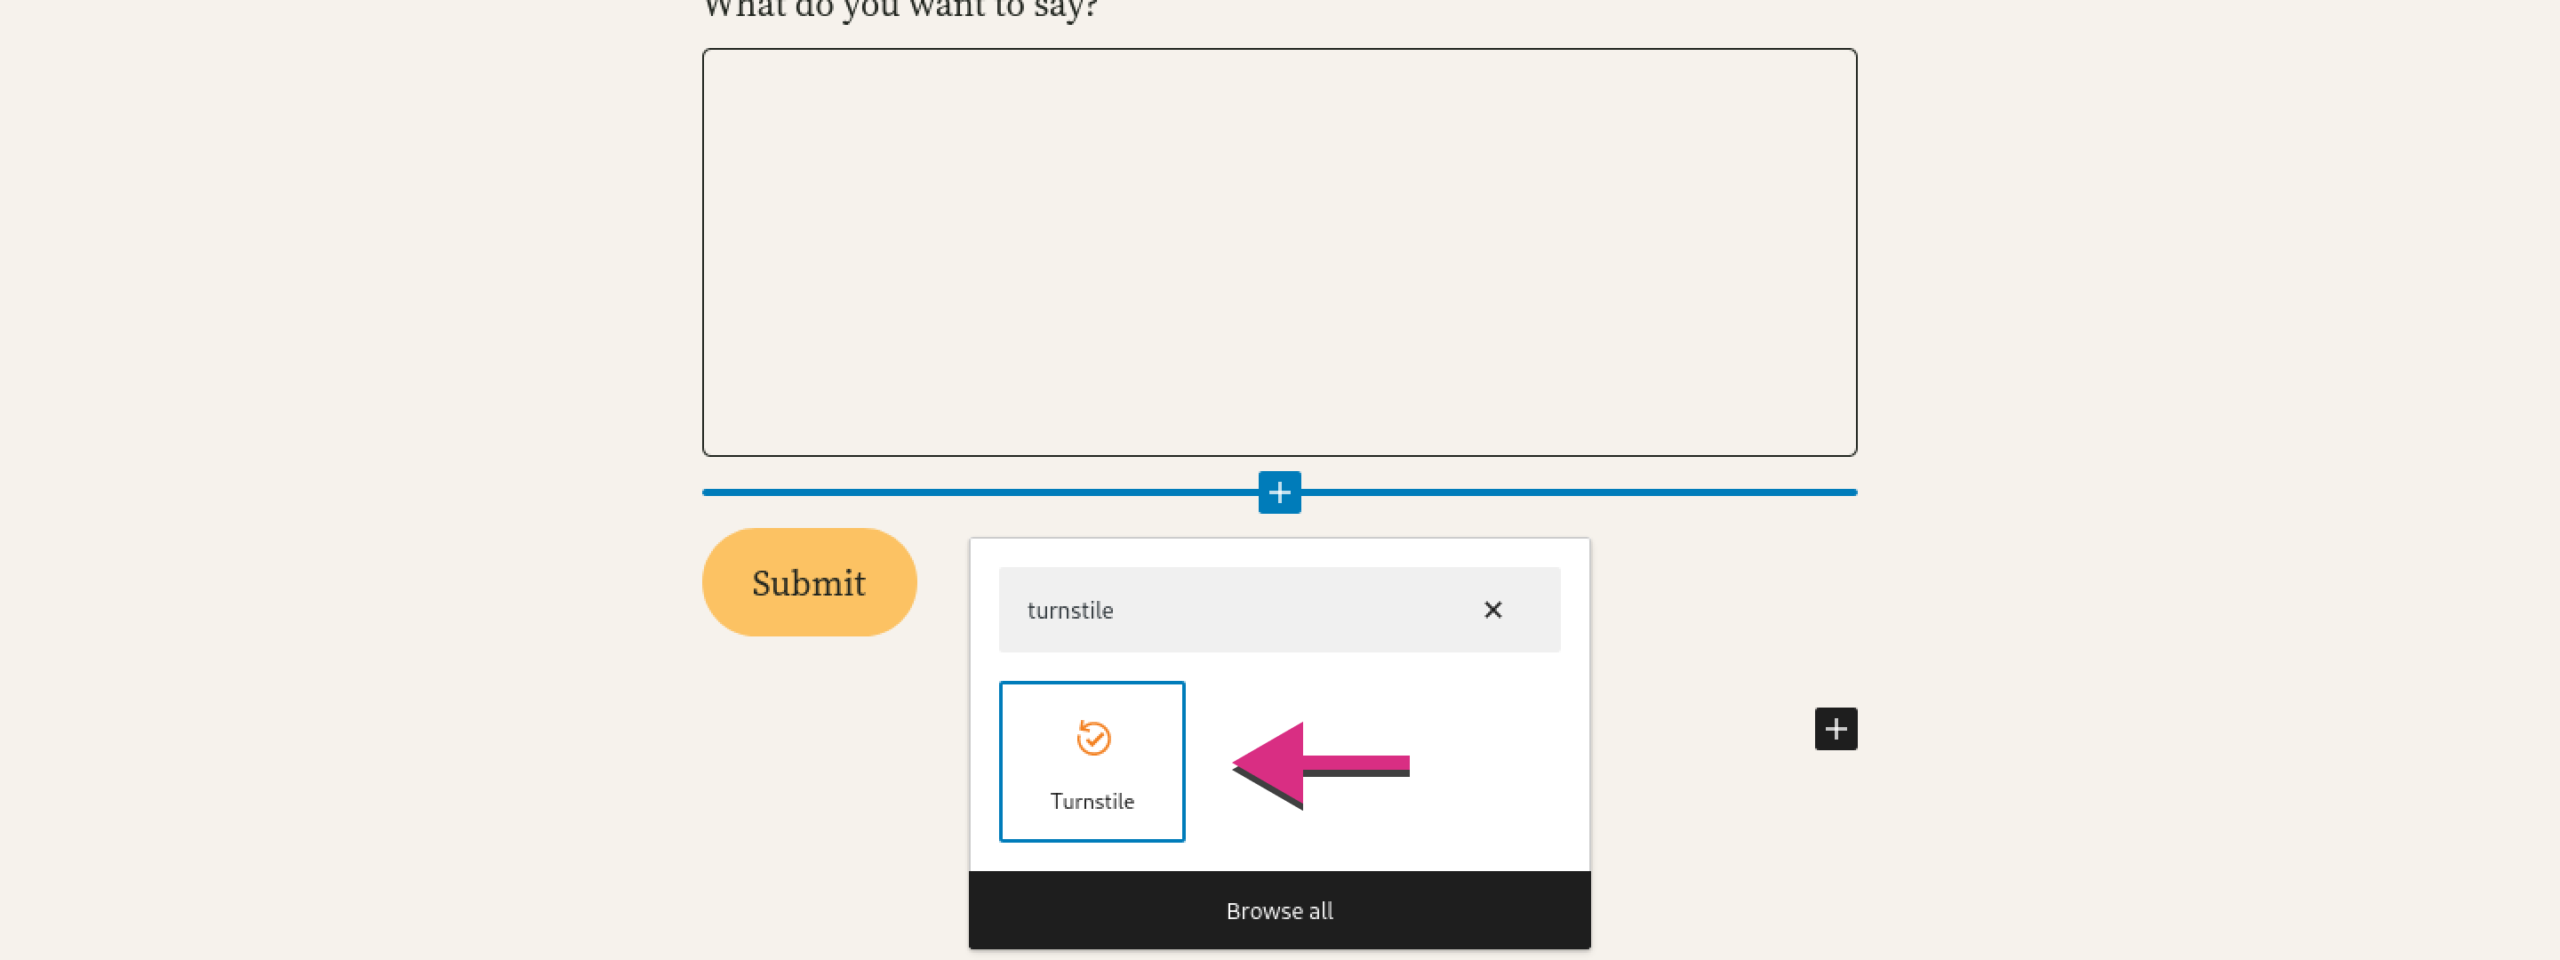
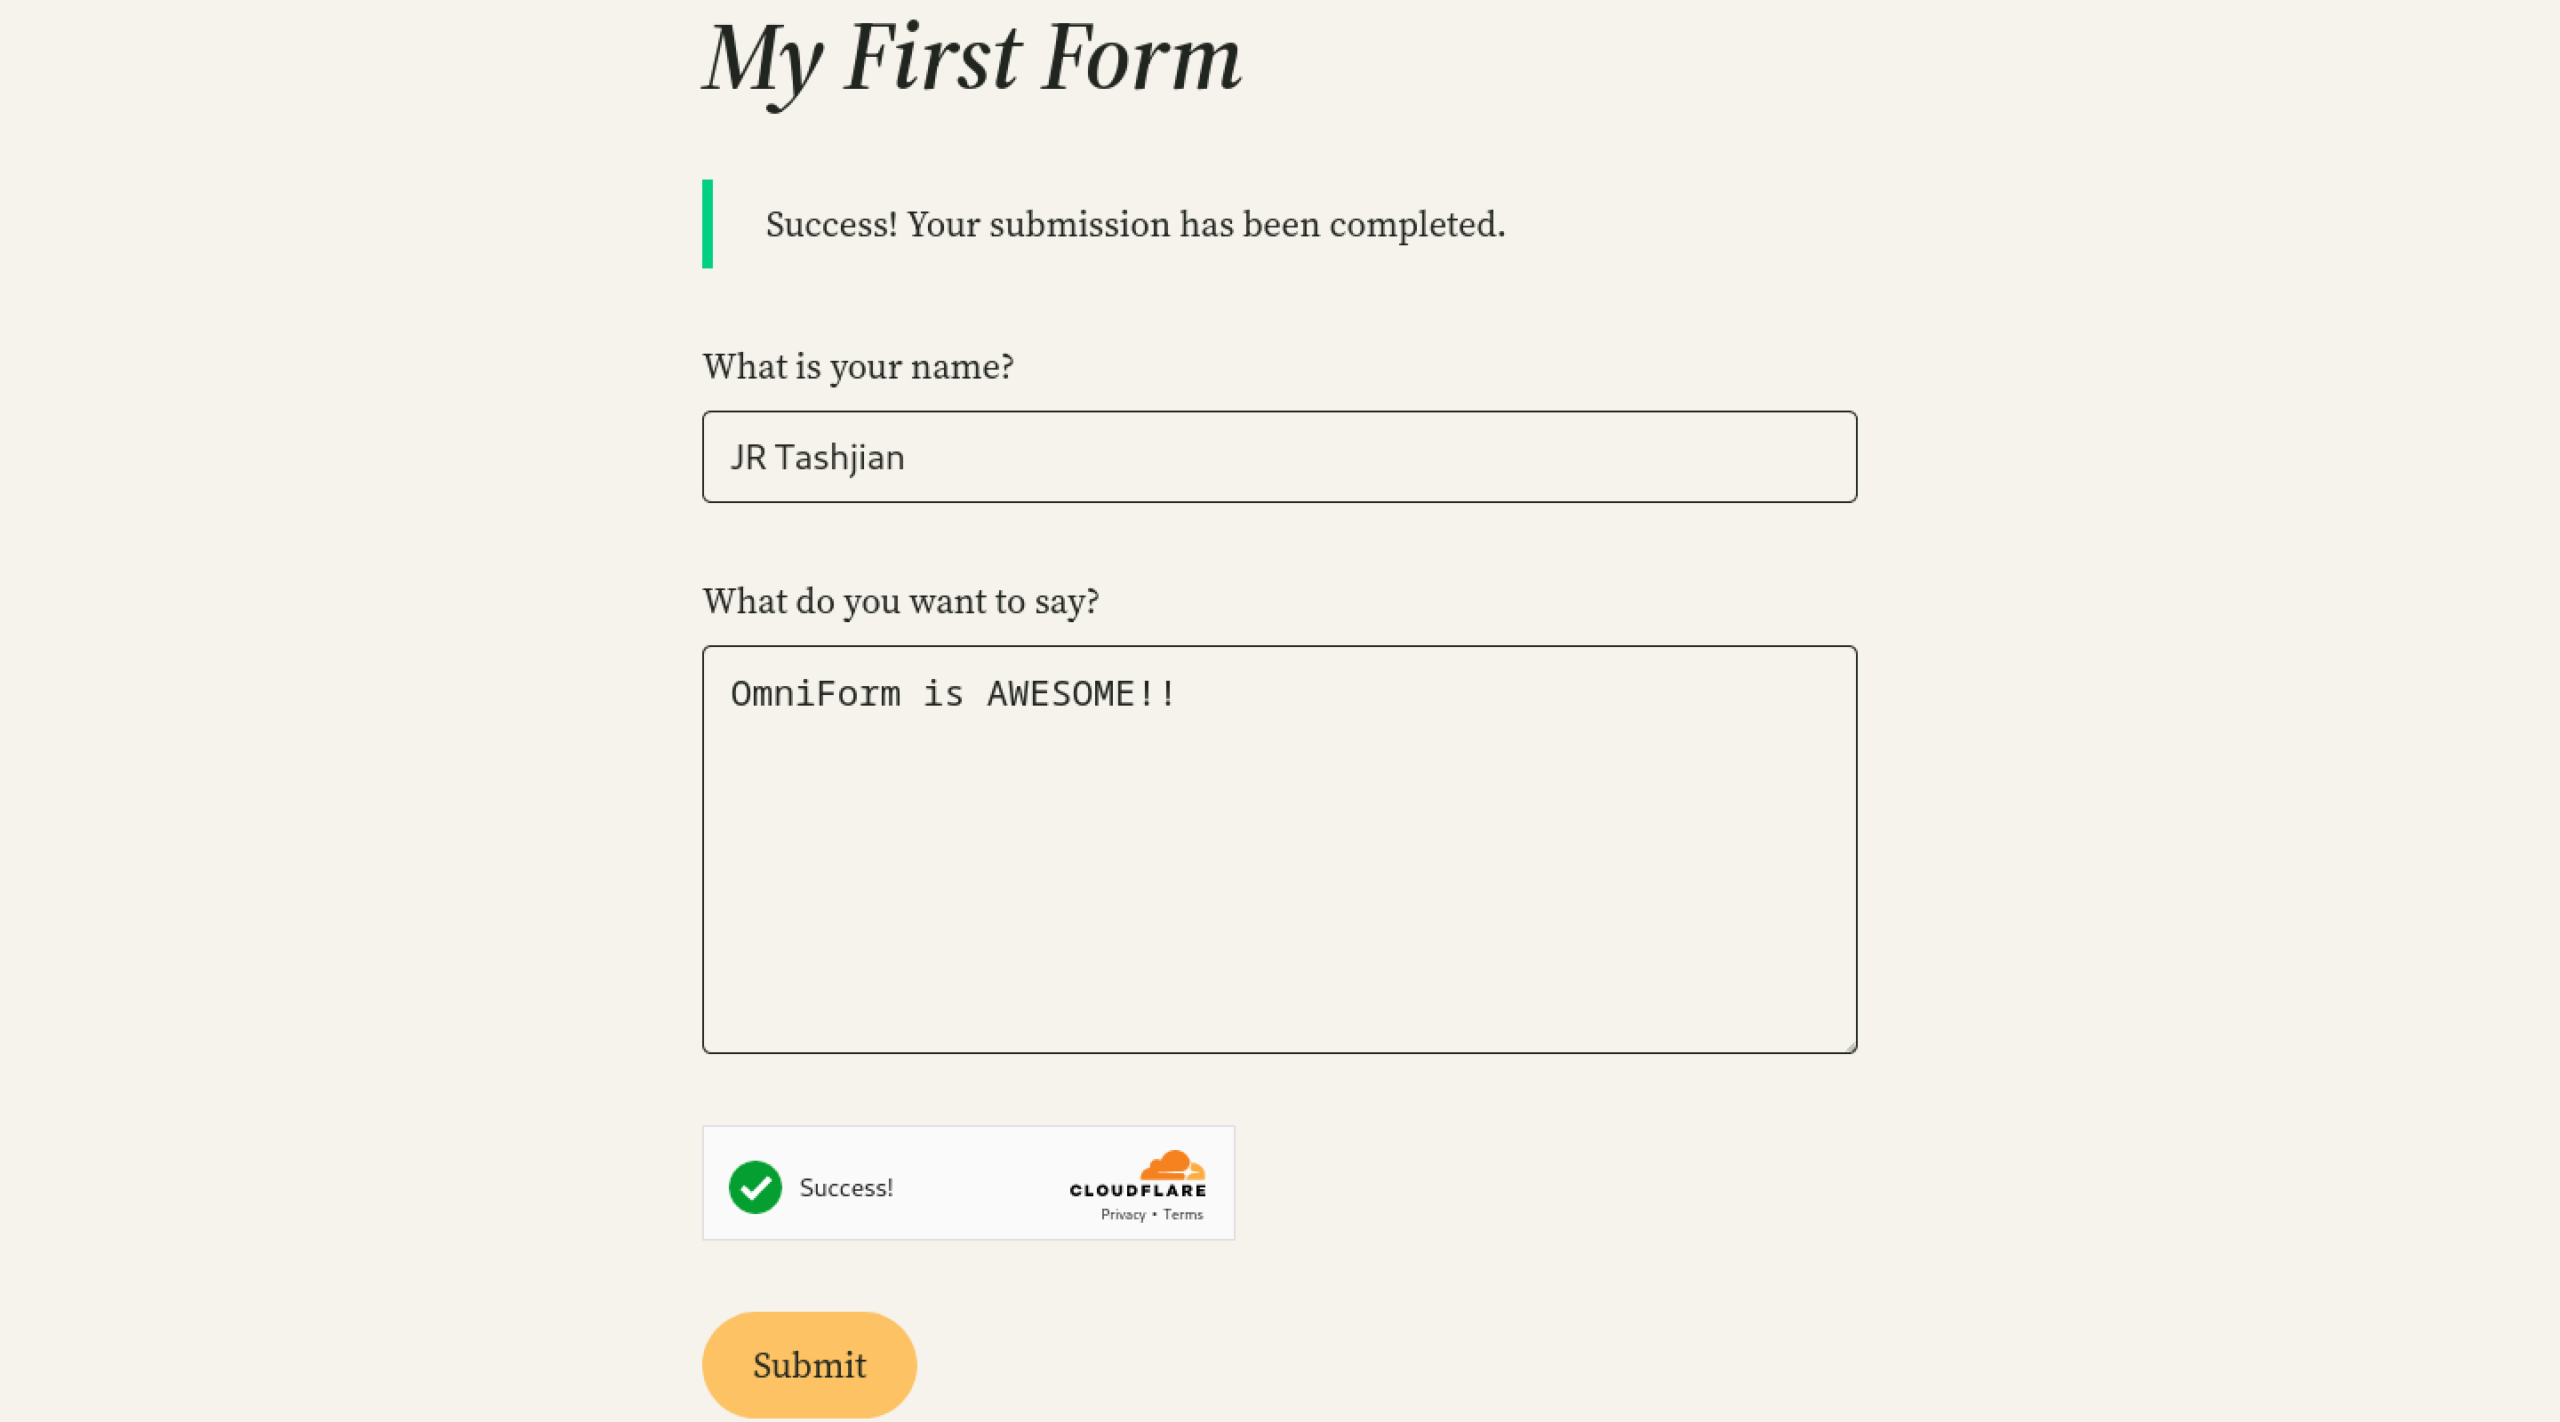
For example, insert the Cloudflare Turnstile block into your form and it will leverage Cloudflare’s advanced bot detection capabilities to filter out spam and protect the integrity of your form data. With this seamless integration, you can ensure a smoother user experience while safeguarding your website from unwanted bot activity.
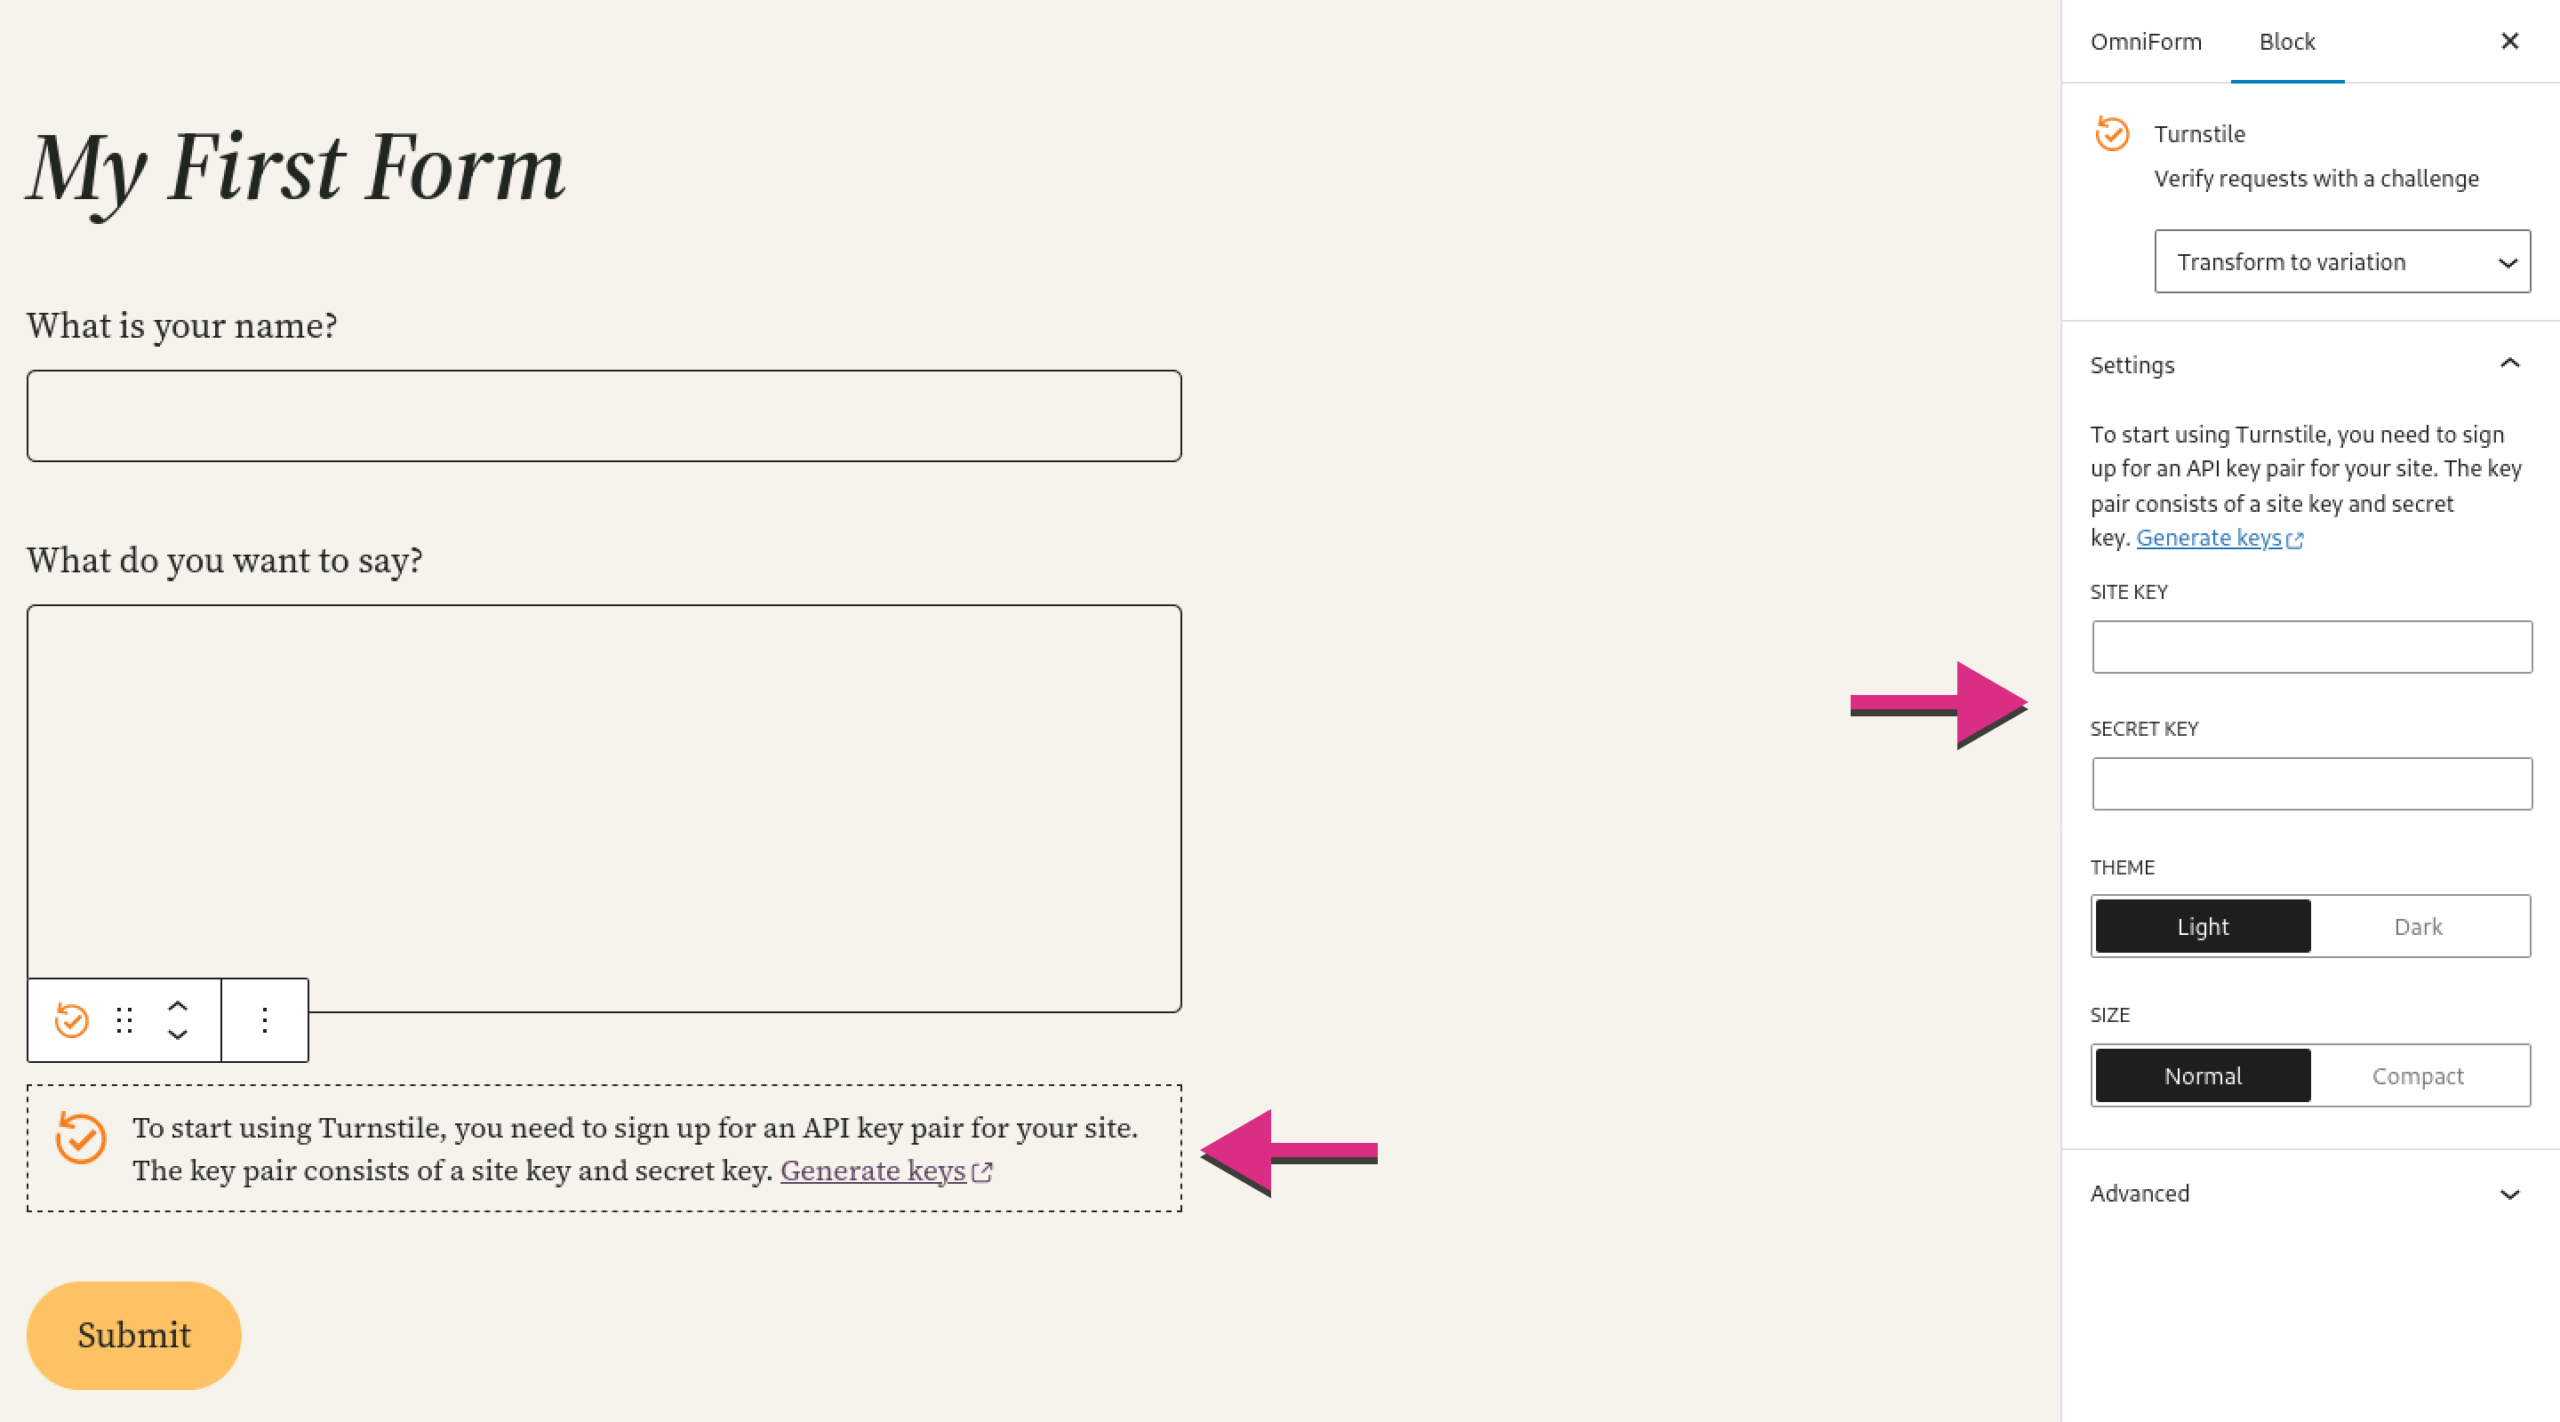
Each supported service’s block offers instructions for generating an API key and provides a dedicated space to store those keys. By saving the API keys within the block, it enables the block to render the bot check on your form and validate the user’s response during submission.

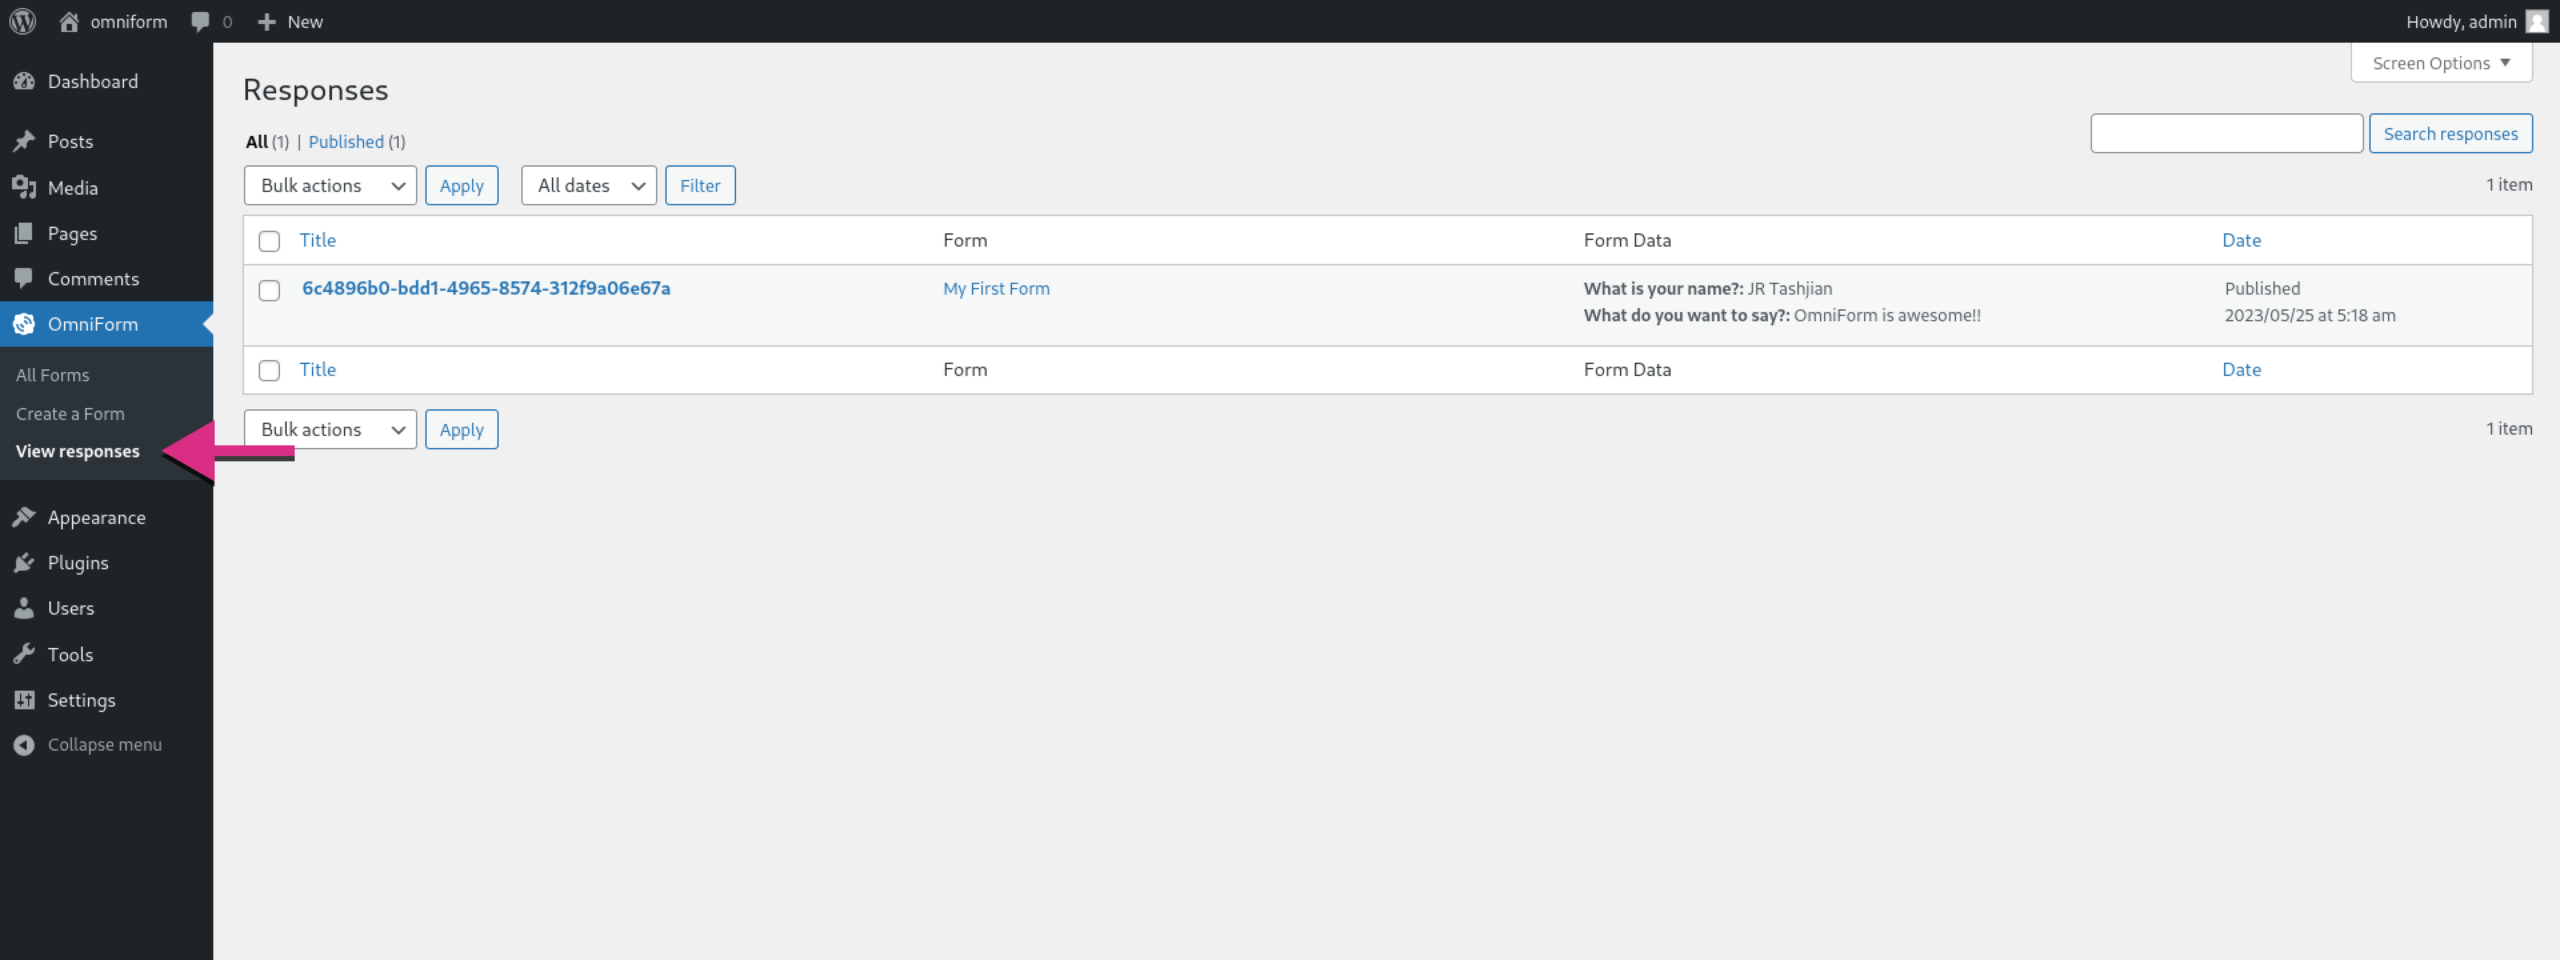
Managing Form Submissions
Managing form submissions is crucial for organizing and responding promptly. In OmniForm, form submission tracking is enabled by default, ensuring that all submissions are recorded and stored for easy access. Additionally, email notifications are automatically sent to the WordPress admin’s email address, providing real-time updates on new form submissions. This allows you to stay informed and promptly respond to important submissions without needing any additional configuration.
Wrapping Up and Next Steps
Now that you have a solid foundation, we encourage you to explore and experiment with OmniForm’s additional features and functionalities. Customize your forms further, leverage advanced options, and integrate with other tools to enhance your form’s capabilities and meet your specific requirements.
To dive deeper into advanced form customization options or explore integration possibilities, check out the following resources:
- OmniForm Block Library: The official documentation provides detailed information about using OmniForm, including advanced customization options and features.
- OmniForm Hooks: Discover the WordPress hooks offered by OmniForm, allowing you to customize and extend its functionality. These hooks enable you to integrate with other plugins, modify form behavior, or add custom functionality.
Remember, the more you explore and experiment, the more you’ll be able to tailor OmniForm to your needs and create powerful forms that streamline your data collection and management processes.